How the Forbidden Forest Is Made: the Unicorn Diorama, Step by Step
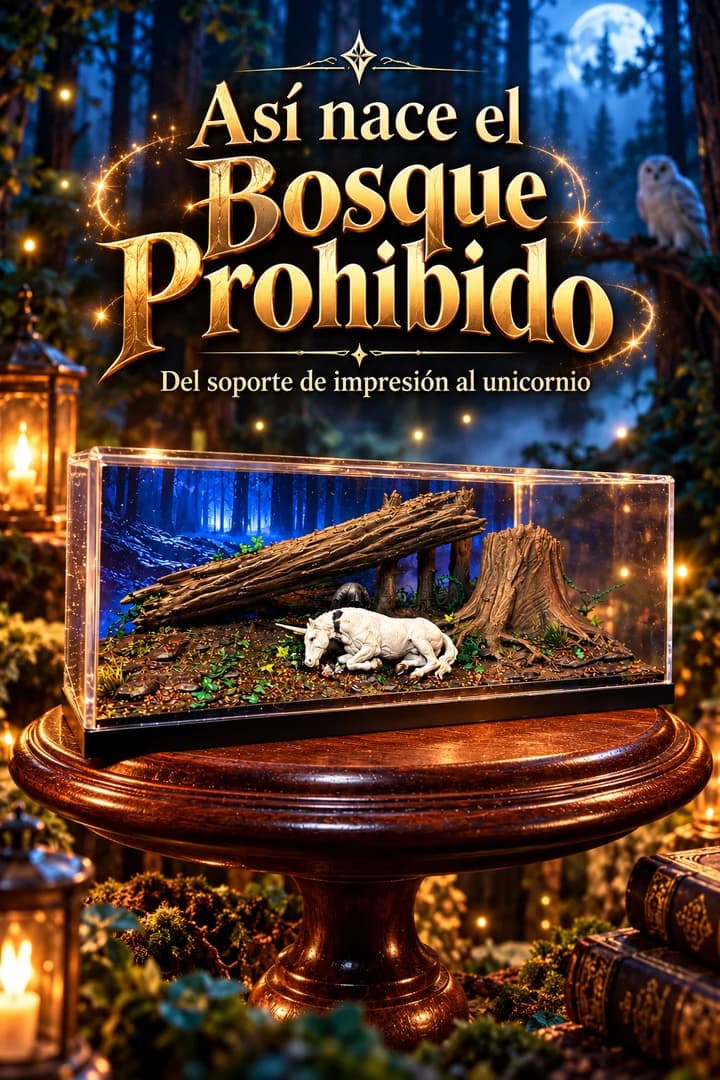
A corner of the Forbidden Forest
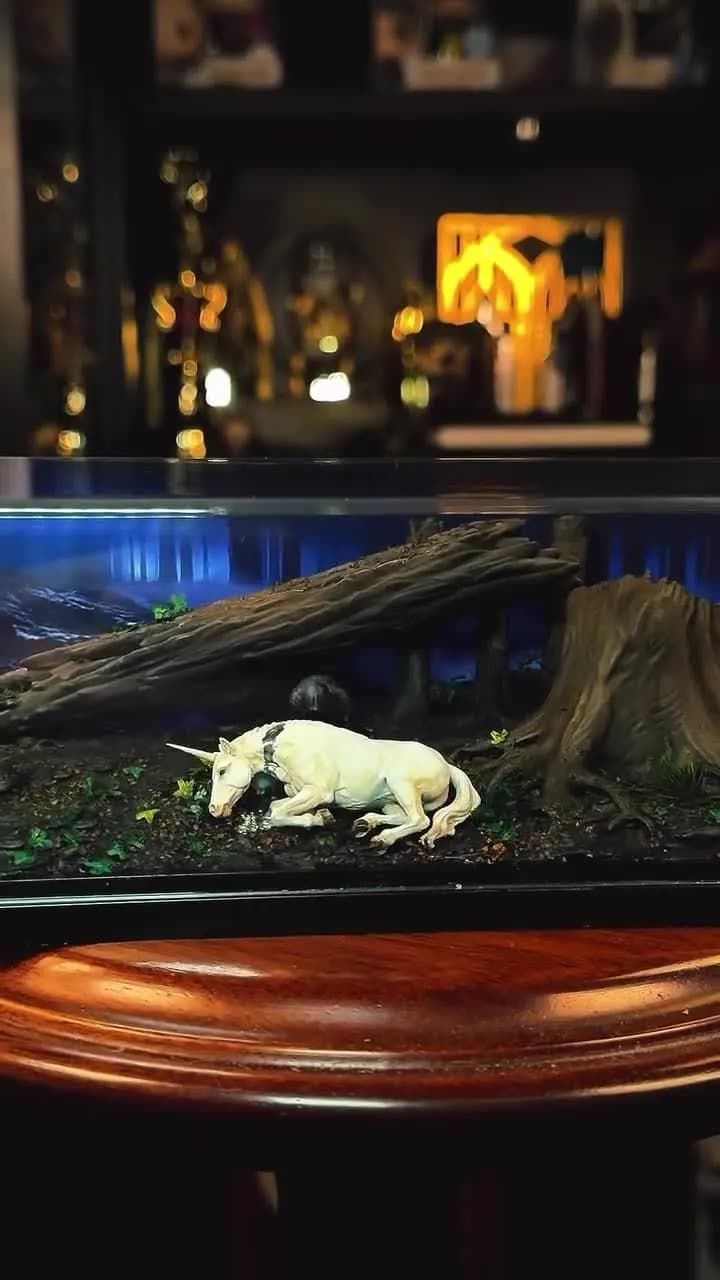
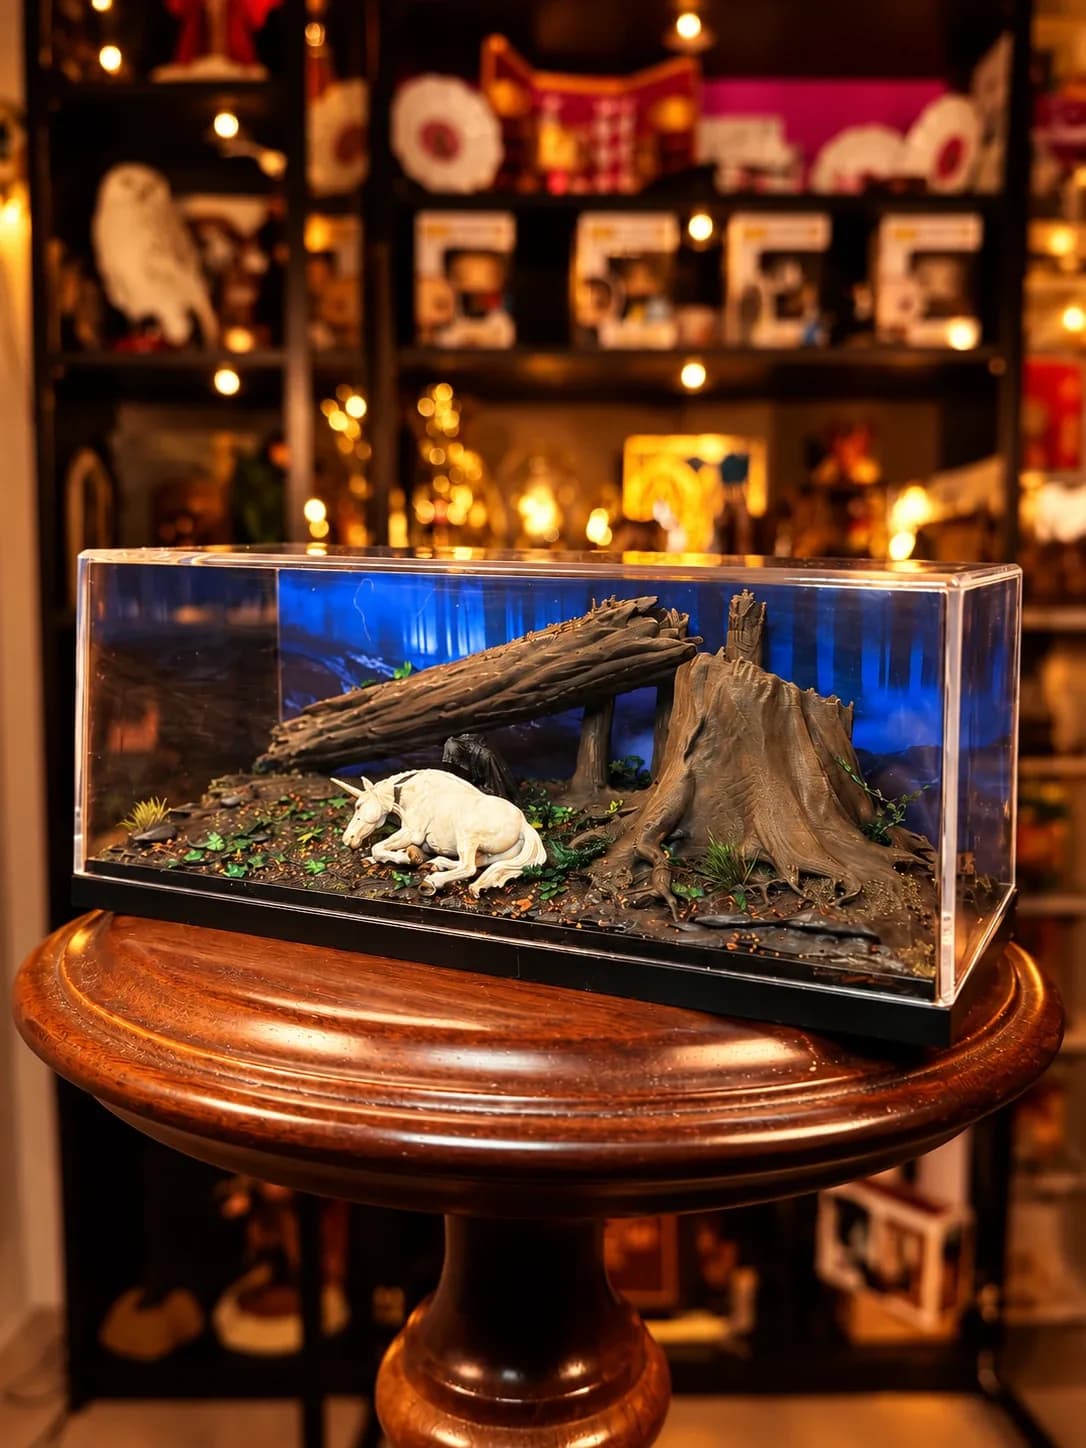
The unicorn, the shadowy figure and the fallen tree recreate one of Harry Potter's most mysterious scenes. A little corner of the wizarding world brought to life in miniature.
The video has no voice-over, but you can follow everything: it shows, from start to finish, how a set of grey pieces becomes a complete scene. Here it is in detail, step by step.
1. Removing the print supports
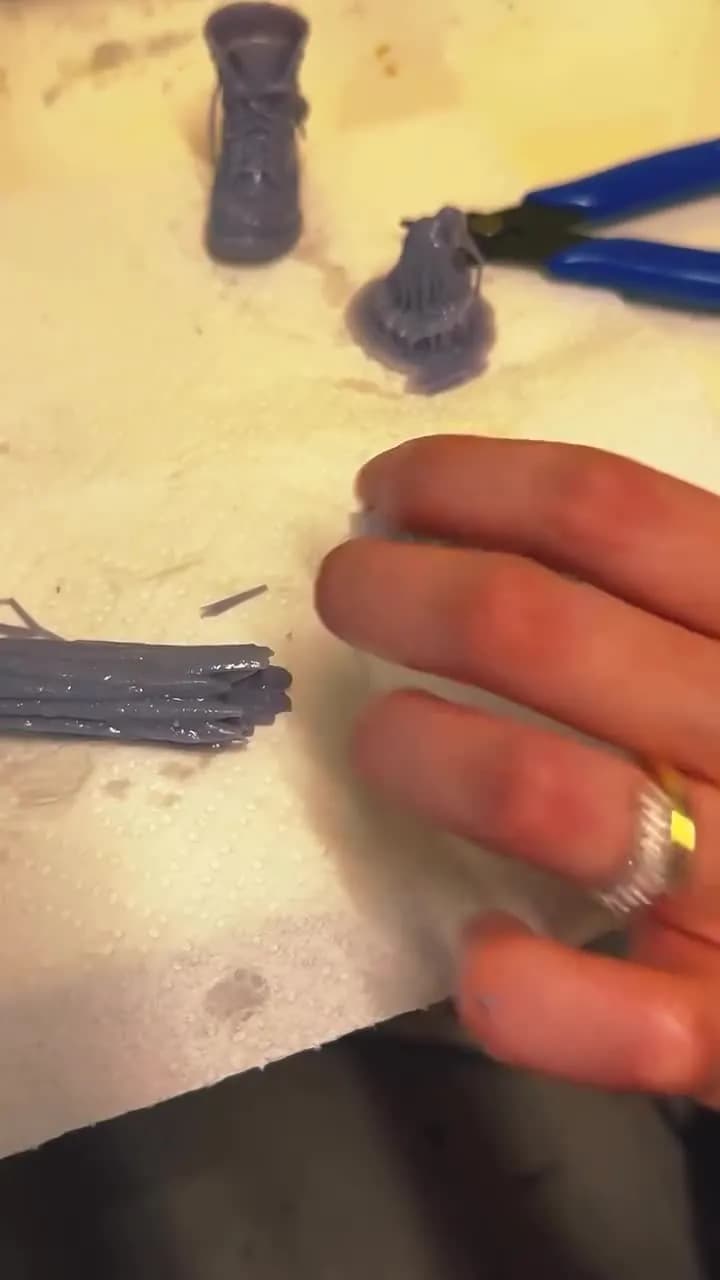
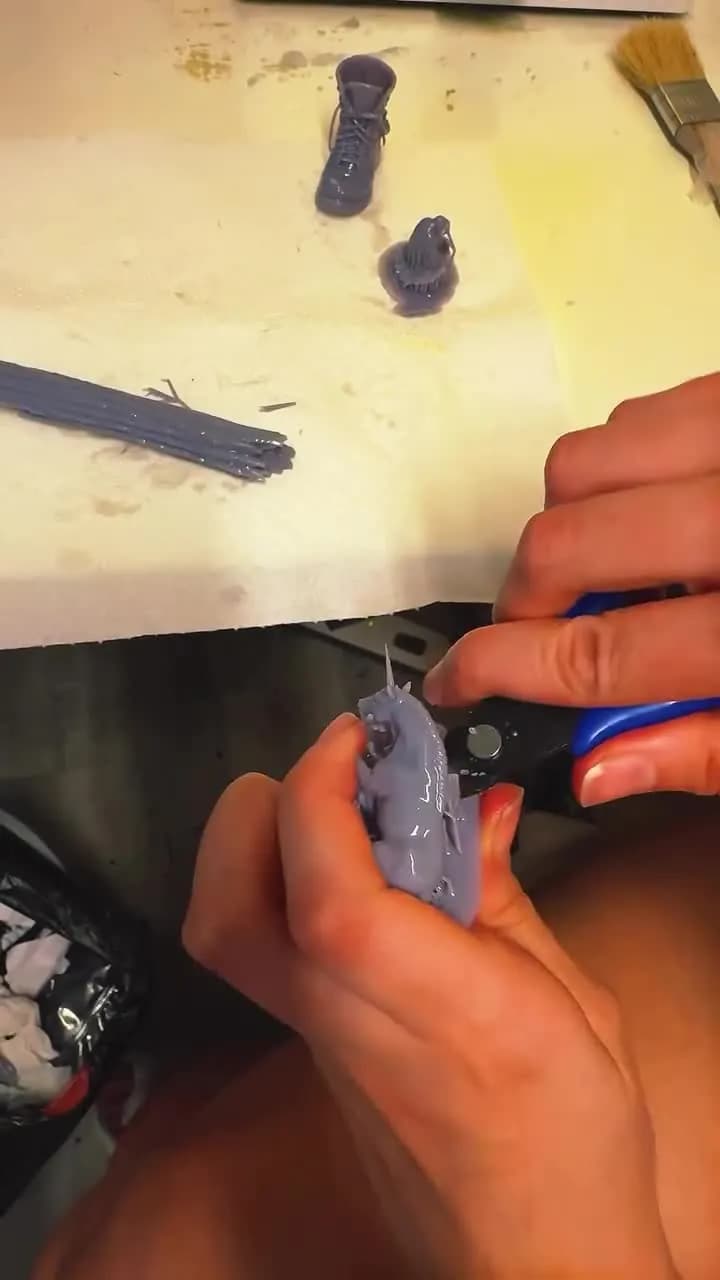
The video starts with the pieces still grey, fresh from the printer, on a sheet of paper. Next to them there is a bundle of thin rods: the supports that hold each piece in place while it prints.
With blue flush cutters, each piece is separated from its supports one by one. It is slow, patient work, because a careless cut can leave a mark on the resin.
2. Preparing the terrain base
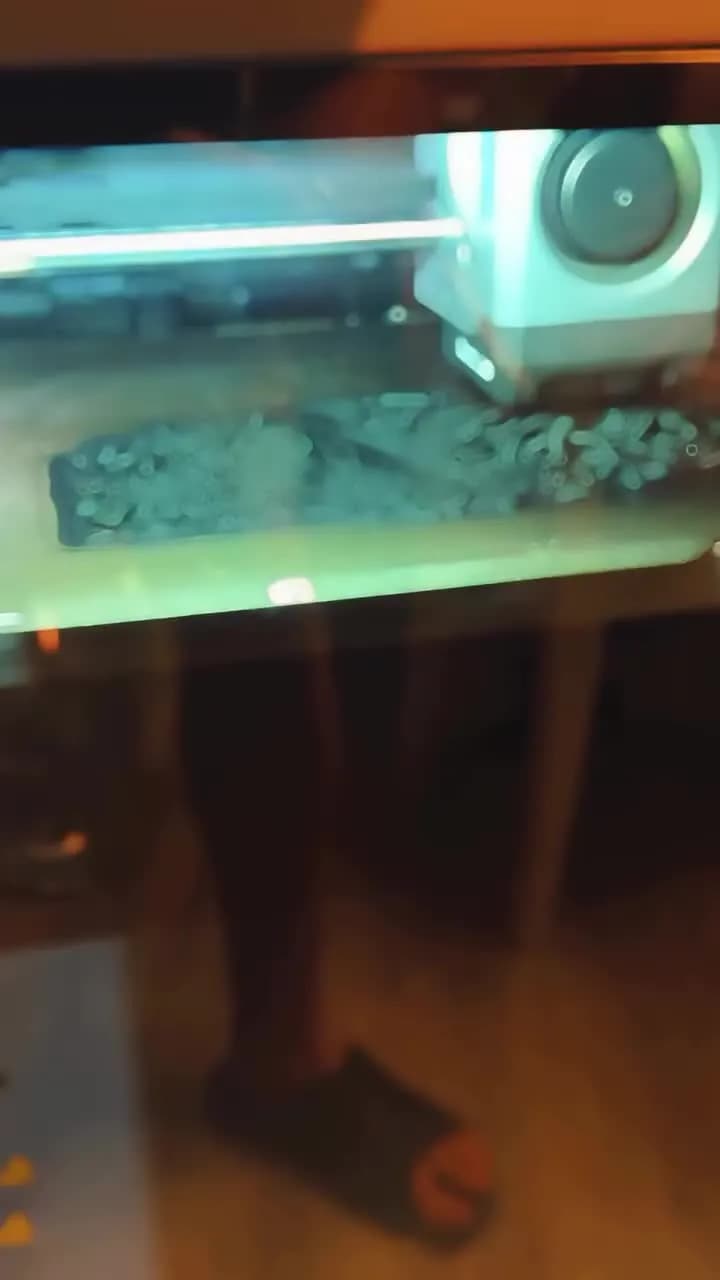
The video also shows a piece inside a transparent container, next to a machine. It looks like the wash, the usual step to clean excess resin off printed pieces before working on them.
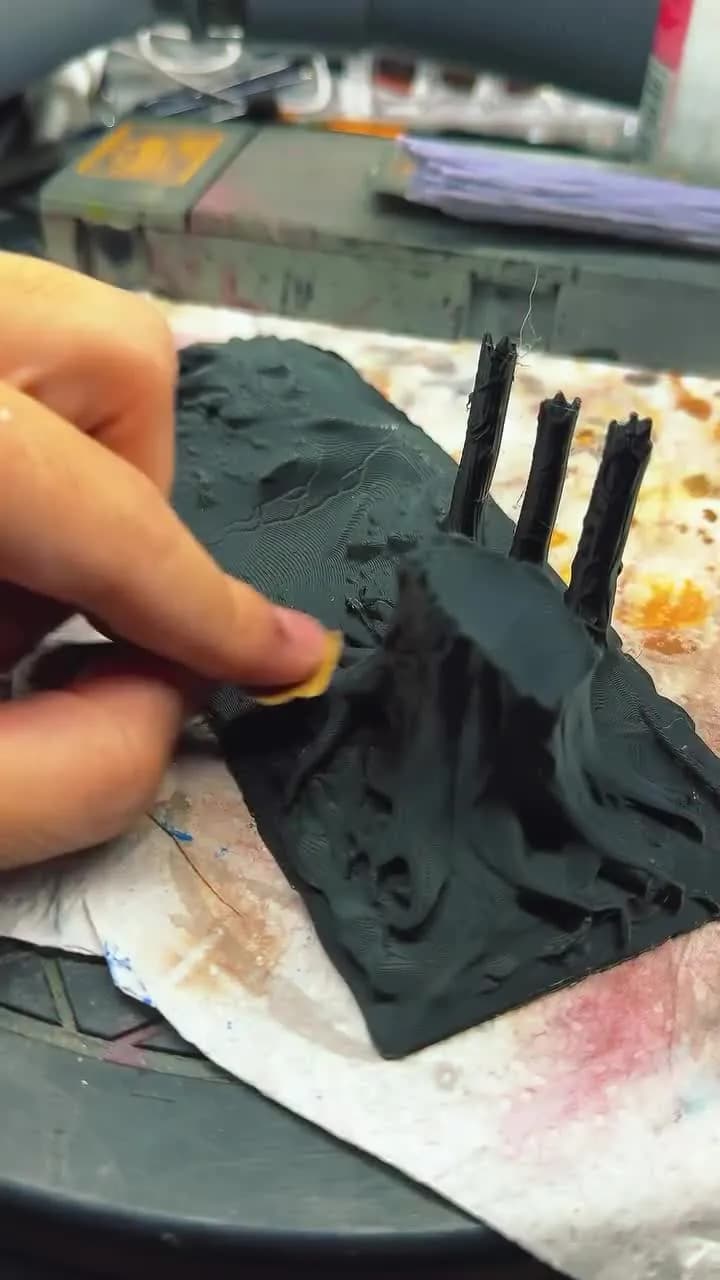
Then the terrain base appears already in black, with the relief of the ground, the roots and the soil clearly defined. That black is the backdrop on which all the colour of the forest is built.
3. The airbrush: the log and the stump
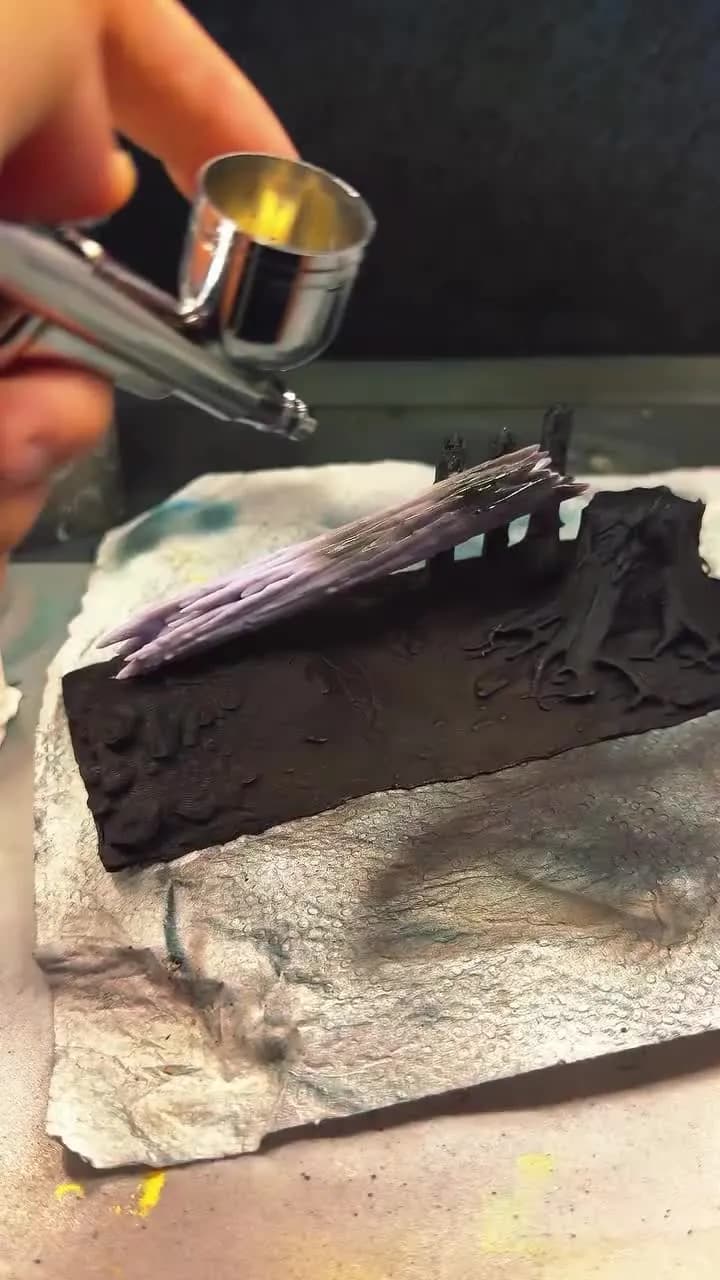
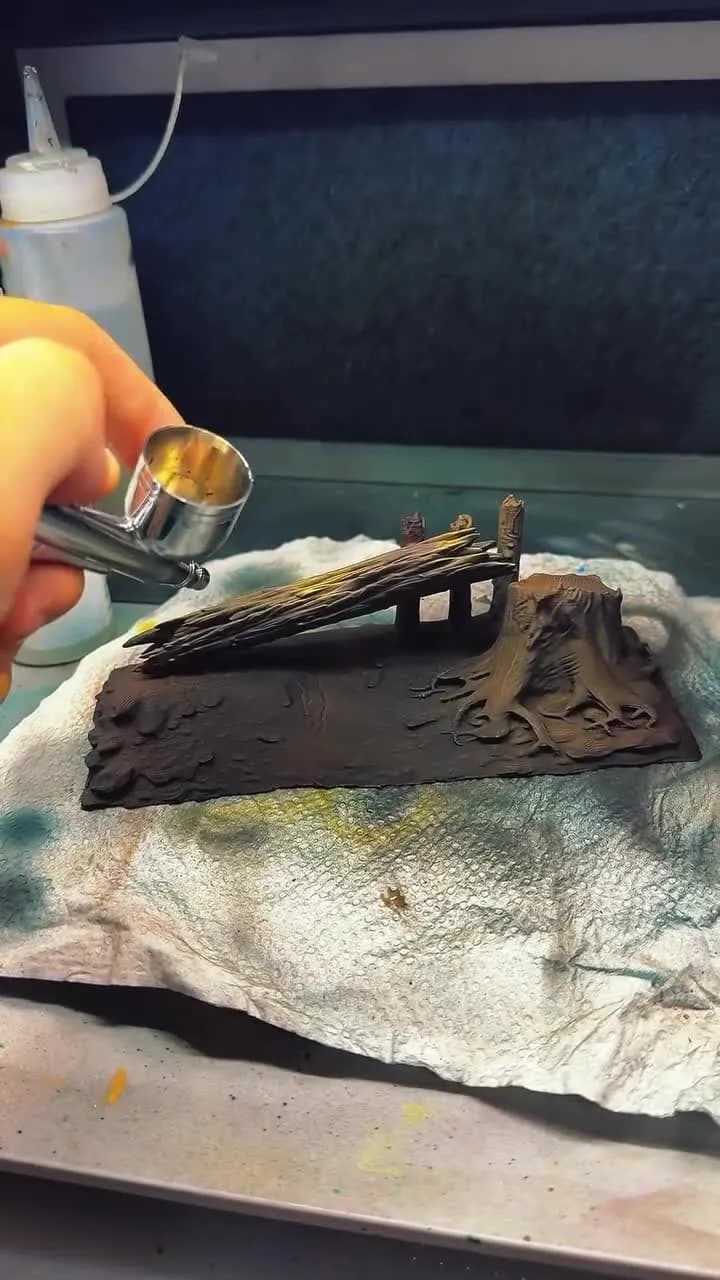
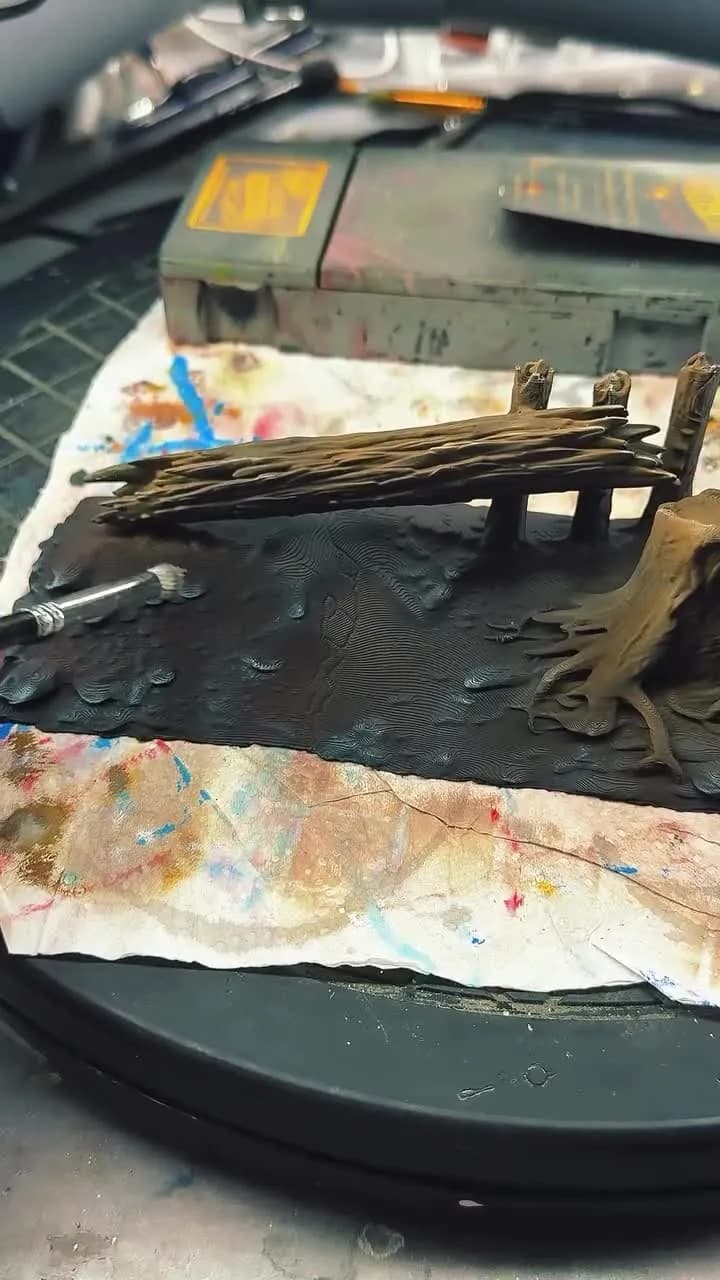
The airbrush comes in. The base is gone over in dark tones, and then the two stars of the landscape are painted: the fallen diagonal log and the stump with its roots.
In thin layers, the wood takes on brown tones. Underneath you can see the sheets of paper that catch the leftover paint, full of colour marks from earlier tests.
4. Ground, roots and depth
With the log and the stump already brown, the ground stays dark. That contrast makes the grain of the bark and the roots of the stump stand out and gives the scene depth.
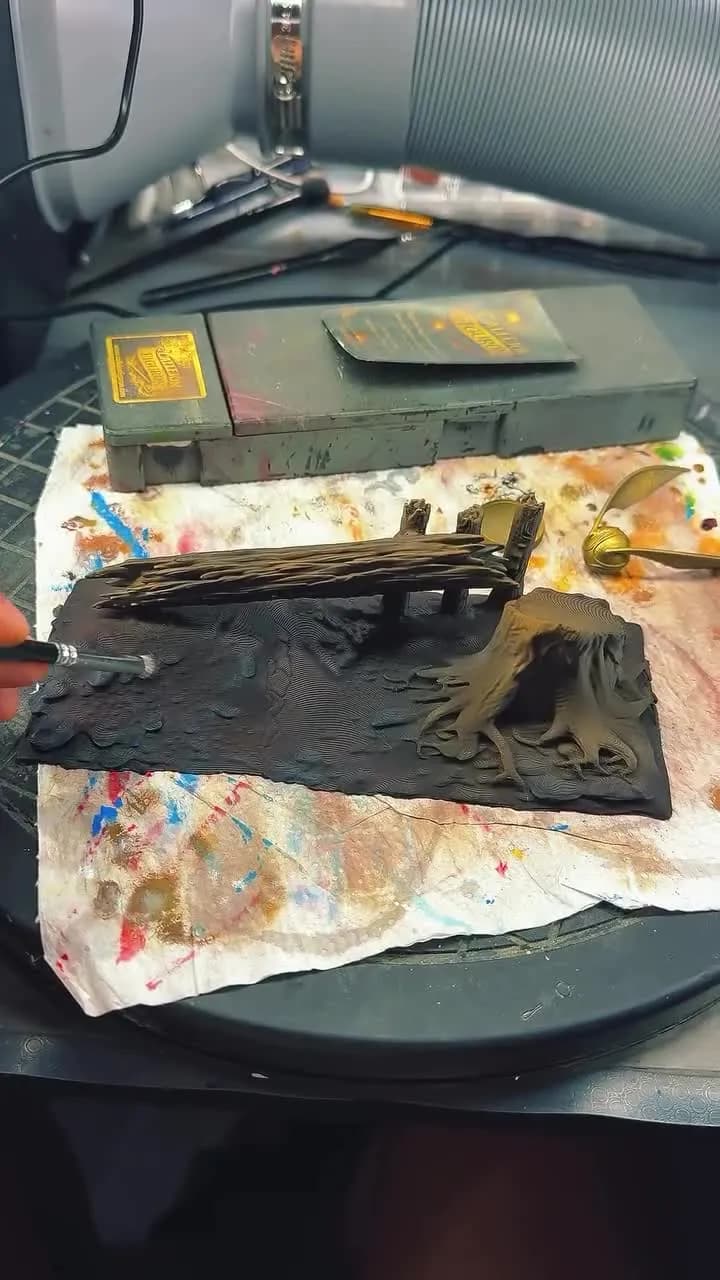
In these shots you can clearly see the texture of the terrain: the uneven soil, the small reliefs and the bark of the trunk.
5. Vegetation: small touches of green
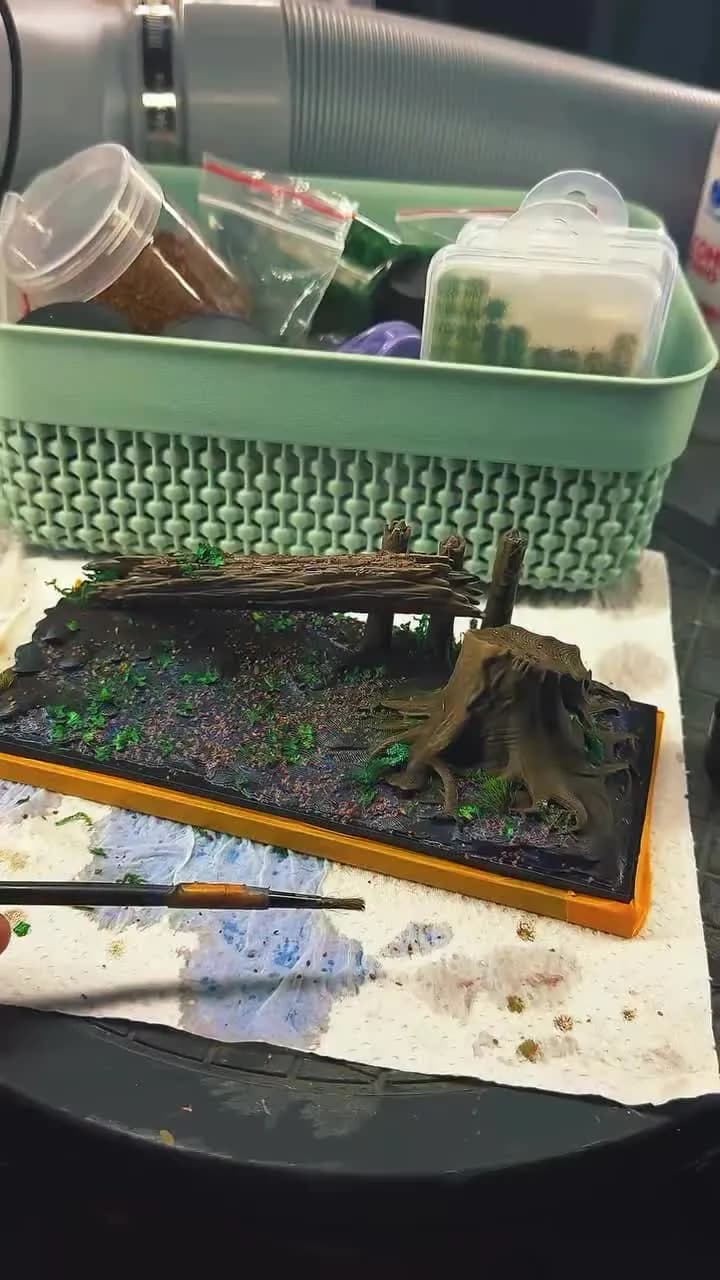
Next comes the vegetation: small touches of green scattered over the ground, which break the darkness of the terrain and make it look like a living forest.
A basket of material jars is visible, and they are applied little by little, with a brush, so they are spread out without overloading the scene.
6. The unicorn: from white to detail
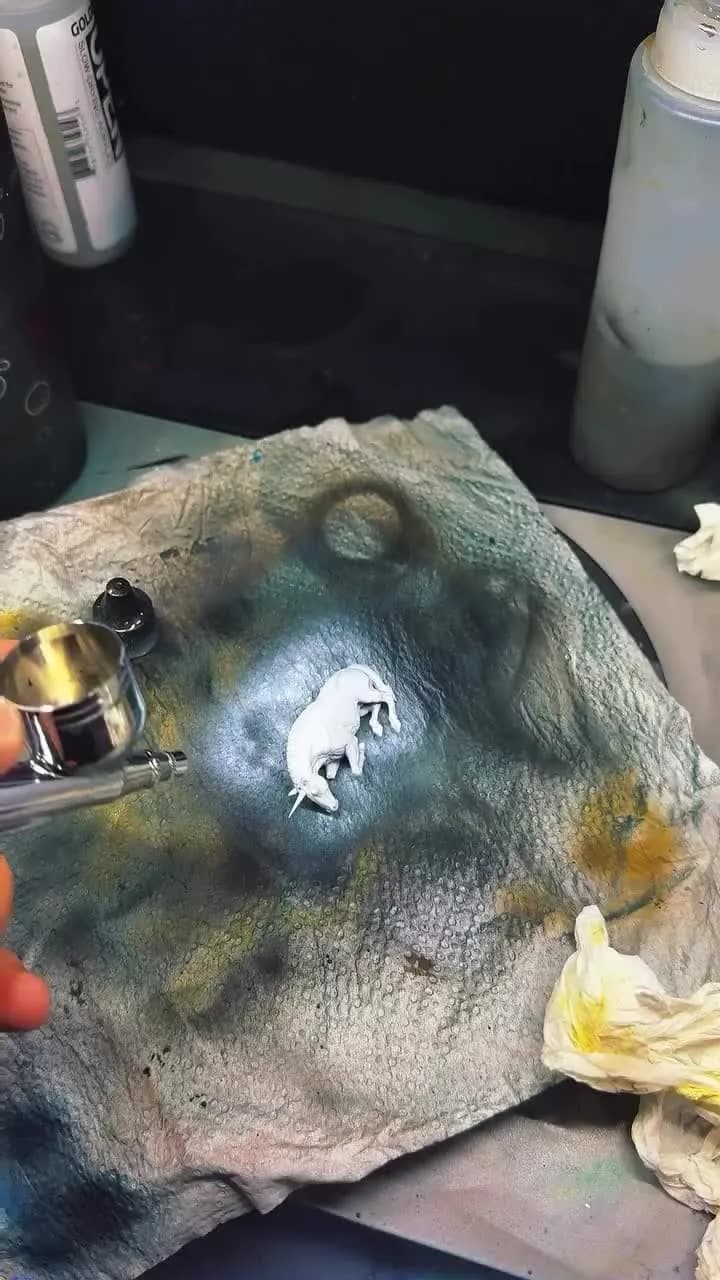
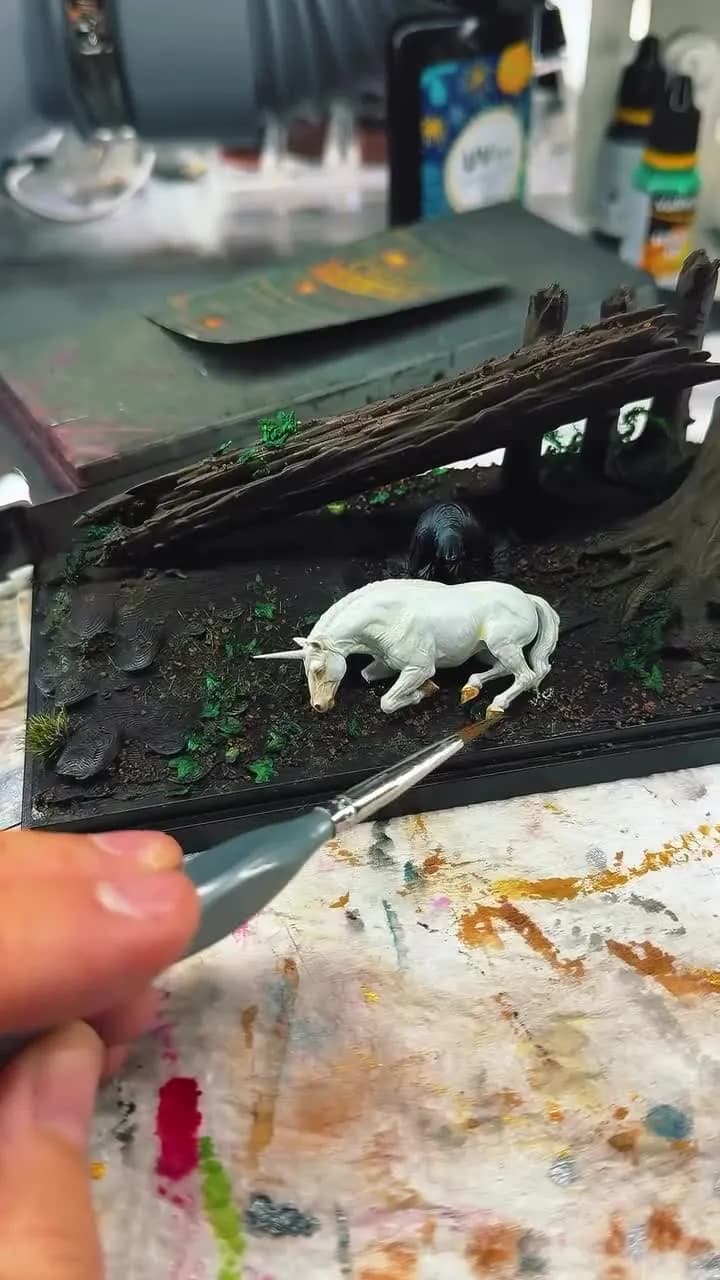
The unicorn is worked on separately. First it is painted white with the airbrush on a sheet of paper, and then it is placed in the scene, lying between the log and the stump.
With a very fine brush, the details of the figure are carefully worked: the head, the horn and the mane. In one of the shots a bottle of metallic paint appears, so we assume some detail has a shiny finish.
7. The final result
The video ends with the finished diorama on a wooden pedestal, inside its acrylic case, with a blue night-forest backdrop.
Unicorn and Dark Wizard Diorama measures 18.5 cm long, 7.5 cm high and 7.5 cm deep. The base is made of high-quality PLA and the rest of the elements of ultra-detailed premium resin. It comes in a protective acrylic case, ready to display on a shelf or in a cabinet.
It is a decorative piece inspired by the magical universe. It is not an official product.
Watch it in the reel
Watch the whole process, start to finish, in our Instagram reel.
Watch the reel on Instagram →@callejonfiguron · InstagramFrequently asked questions
How big is the unicorn and dark wizard diorama?
18.5 cm long, 7.5 cm high and 7.5 cm deep.
What is the Forbidden Forest diorama made of?
The base is high-quality PLA and the rest of the elements are ultra-detailed premium resin.
Does it come with a case?
Yes, it comes in a protective acrylic case.
How is the diorama painted?
The video shows an airbrush used for the bases and the colour of the wood, and fine brushes for the vegetation and the unicorn's details.